A motorcycle makes every piece of equipment compete for space, weight and attention. The answer is not to buy an impressive pile of “adventure” products. It is to understand what could actually go wrong on your route, choose tools and clothing that solve those problems, and test the packed motorcycle before a long journey. This guide describes that process without claiming that Farhan owns or endorses an unverified product model.
The short answer
Build a motorcycle camping kit around rider protection, a balanced load, a tested shelter and sleep system, safe water, a repair method you know how to use and a compact camera setup. Rehearse the full pack before departure.
Field guide / 01
Define the trip before opening a shopping cart
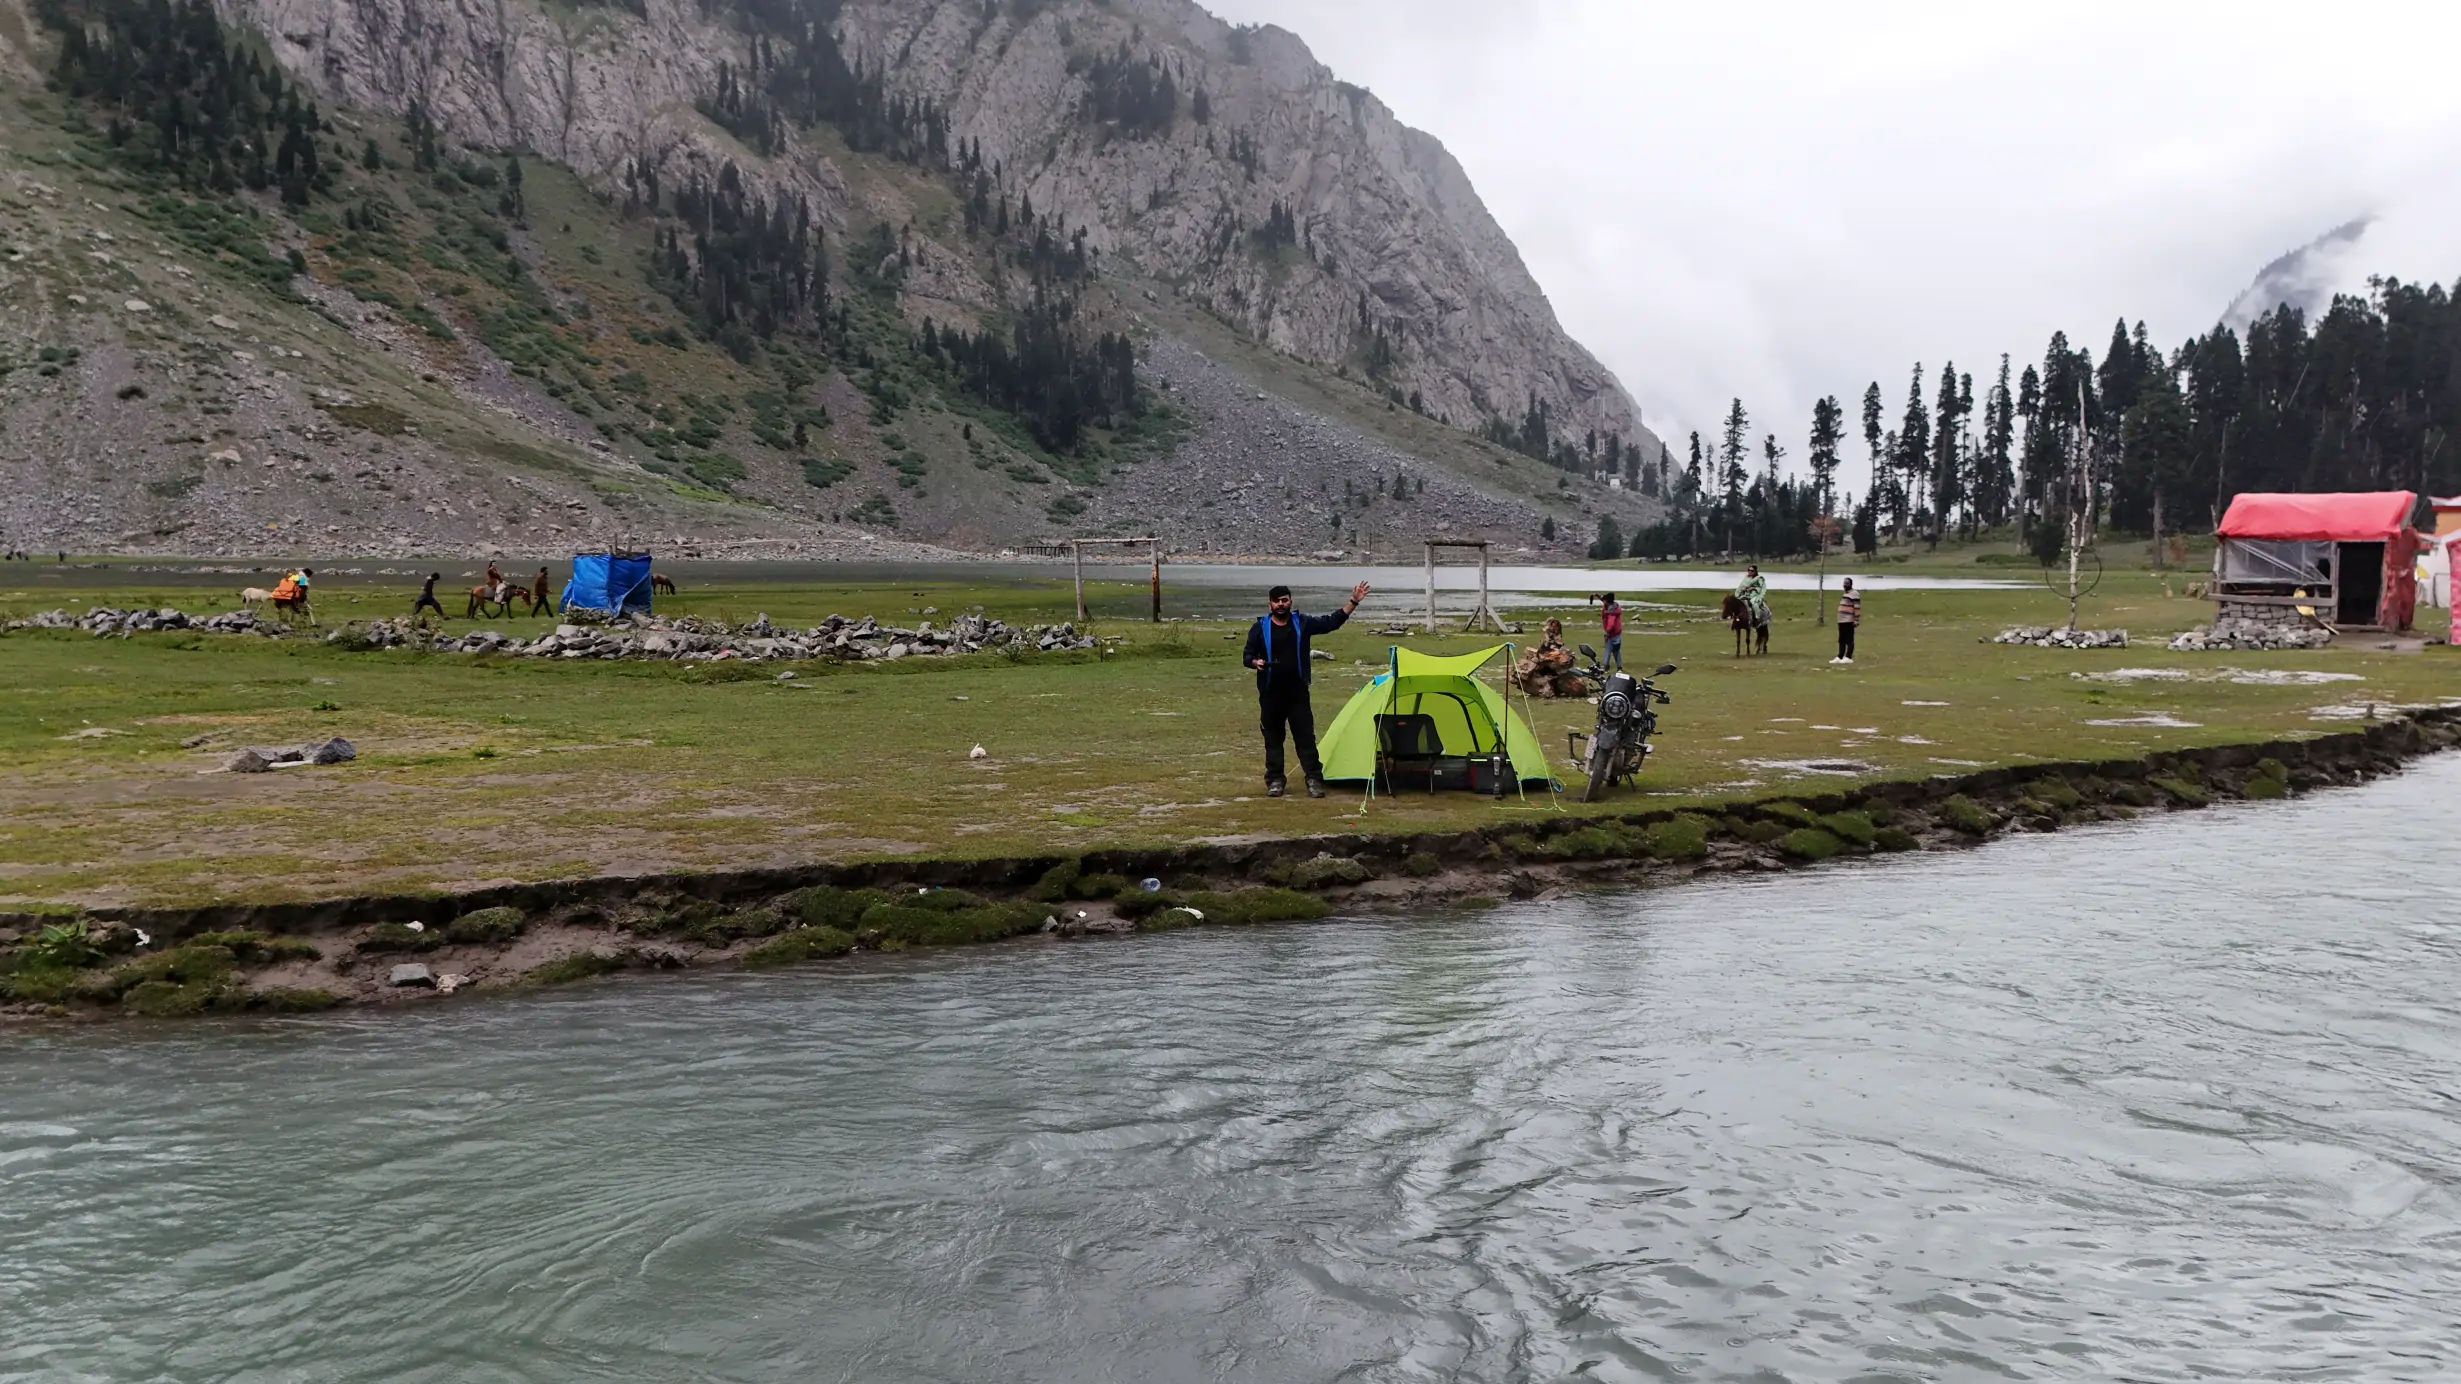
A city-to-city ride with guesthouse nights requires a different load from a multi-day camp above the tree line. Write down the trip’s season, expected temperature range, road surface, longest gap between services, water access and number of nights outside. Then separate the equipment into four functions: keeping the rider safe, keeping the motorcycle moving, making a camp viable and documenting the journey. A fifth category—comfort—matters too, but it should not displace essentials. The Offbeat Camper Gear List is organised around these functions rather than brands.
Define a failure scenario for each major item. What happens if rain enters a bag? If a strap breaks? If you cannot find fuel where expected? If the tent cannot be pitched on the available ground? This is not a call to carry a replacement for everything. It helps identify small, high-value margins: a dry bag for one warm layer, a spare strap, a tested tyre repair method or an extra water container.
Be skeptical of universal packing lists. They rarely know your motorcycle, skills, body or route. Start with a small system for a one-night trip and learn from it. If an item remains unused, decide whether it was a necessary contingency or merely a fear purchase. If an item was hard to reach when needed, change its position before replacing it. A good kit evolves through use, not just comparison videos.
Create a “must work” list separate from a “nice to have” list. Brakes, tyre condition, helmet fit, weather layers and a viable sleep system belong in the first. A second camera angle or camp decoration belongs in the second. This distinction helps when a budget or luggage limit forces tradeoffs. Spend money and weight where a failure would endanger the rider or halt the route, not where an item merely looks adventurous in a photograph.
Field guide / 02
Put riding protection first
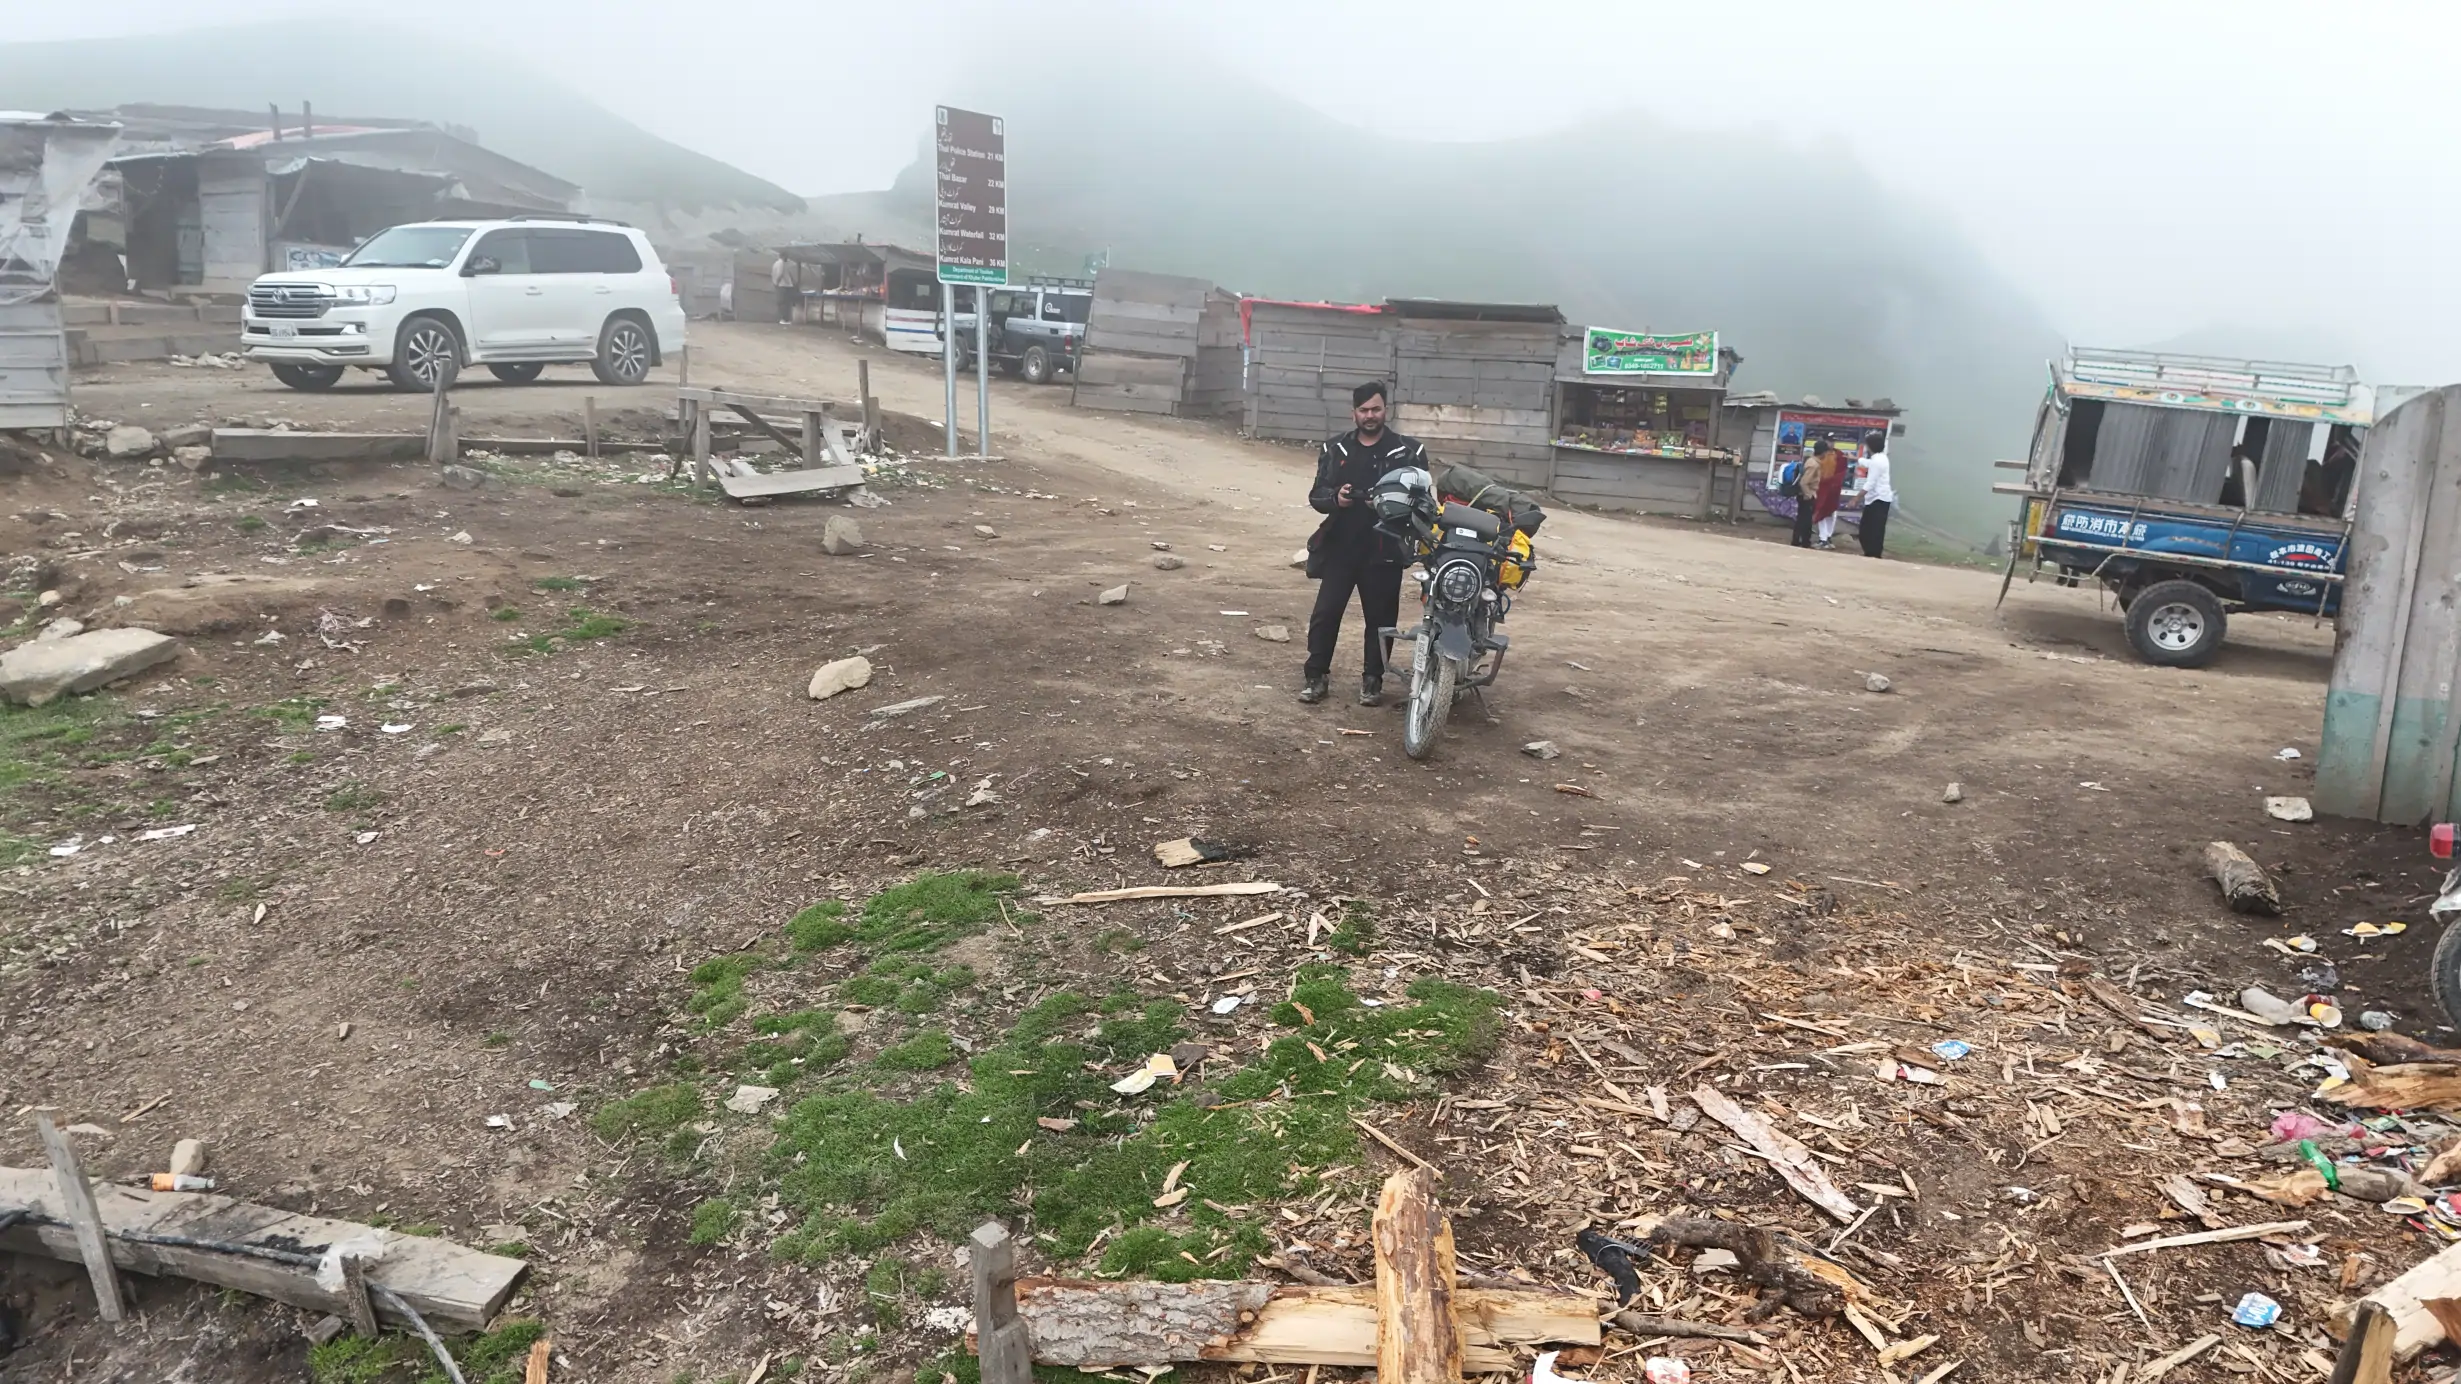
A well-fitting, quality helmet is a fundamental part of riding. The World Health Organization helmet manual explains the protective value of safe helmets. Choose one that fits correctly and meets relevant standards, and replace it according to manufacturer guidance or after an impact when required. Add protective jacket and trousers, gloves and suitable boots for the route. Do not allow a camera, luggage upgrade or decorative accessory to crowd out basic rider protection.
Protection must remain wearable in the conditions you actually meet. A jacket that is too hot to use or gloves that make controls awkward do not solve the problem they were purchased for. Test the combination while seated on your loaded motorcycle, then on a longer ride. Check whether rain gear can go on without a complete roadside unpack. Keep a dry insulating layer accessible even if the forecast looks mild at departure. The temperature experienced by a moving rider can feel very different from the afternoon temperature in a town.
Visibility and fatigue are equipment questions as well as riding questions. Keep lights clean and functional, use reflective or conspicuous elements where appropriate, and do not depend on gear to compensate for poor timing. A safer itinerary can be more valuable than an expensive accessory. The motorcycle hub develops the route decisions that clothing alone cannot make.
Helmet fit is personal; a borrowed recommendation cannot settle it. Take time to try a model correctly, follow manufacturer sizing guidance and check that it stays stable without painful pressure. Replace damaged protective equipment when its maker requires it. The same principle applies to boots and gloves: a protective item that you cannot comfortably control the motorcycle in needs a different fit or design.
Field guide / 03
Load the motorcycle for balance and access
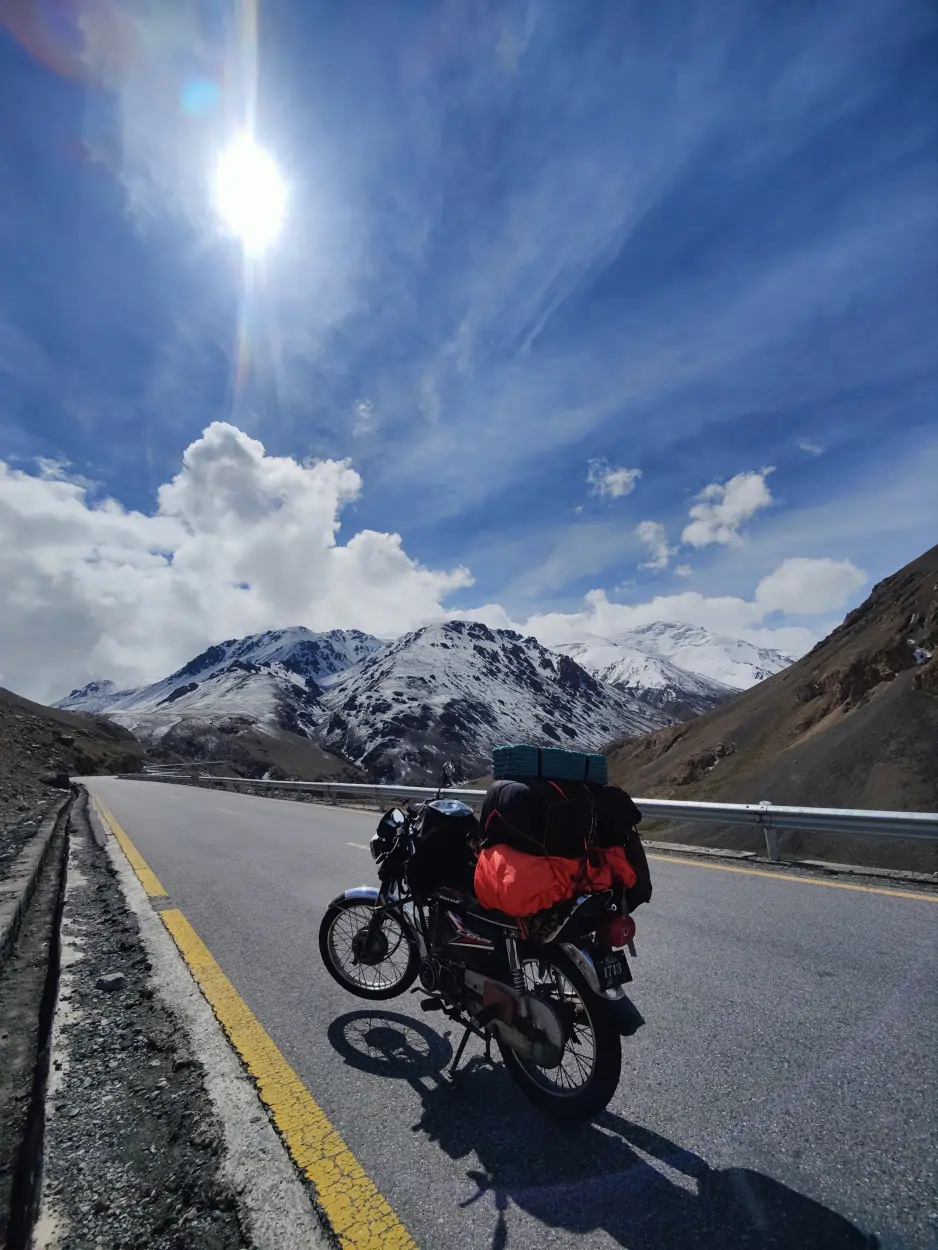
Weight distribution affects steering, braking and low-speed control. Place dense objects low and securely, within the motorcycle and luggage system’s limits. Keep both sides reasonably balanced and ensure straps cannot reach a wheel, chain, brake or hot exhaust. After loading, sit on the bike and turn the bars fully. Check visibility of lights and number plate. Test the suspension and the ease of putting a foot down. A tidy photograph of luggage is not evidence of a safe load.
Design the packing order around when you need things. Rain protection, water, snacks, first aid and documents should not live at the bottom of a tightly lashed camp bag. Tent and sleep system can be deeper if you will only use them after stopping. Tools must be accessible without creating a roadside explosion of loose items. A simple colour or label system helps when you are tired. The aim is not to create more pouches; it is to reduce the number of decisions required in poor weather.
Ride a short loop with the complete load before departure. Include slow turns, braking and a stop on uneven ground. Recheck every fastening point after the first stretch. If the bike feels unstable, remove weight or redistribute it instead of assuming you will get used to the problem. Offbeat Camper’s gear approach is based on what earns its place, not on how much can be carried.
Keep a simple packing diagram or photo of the final load. It makes repacking faster after a wet morning and reveals if a bag has shifted. Recheck clearances with the suspension compressed and the bars turned. On a trip, inspect mounting points at each major stop rather than waiting for a strap to flap. A secure load protects the rider, nearby road users and the landscape from lost equipment.
Field guide / 04
Choose shelter as a whole sleep system
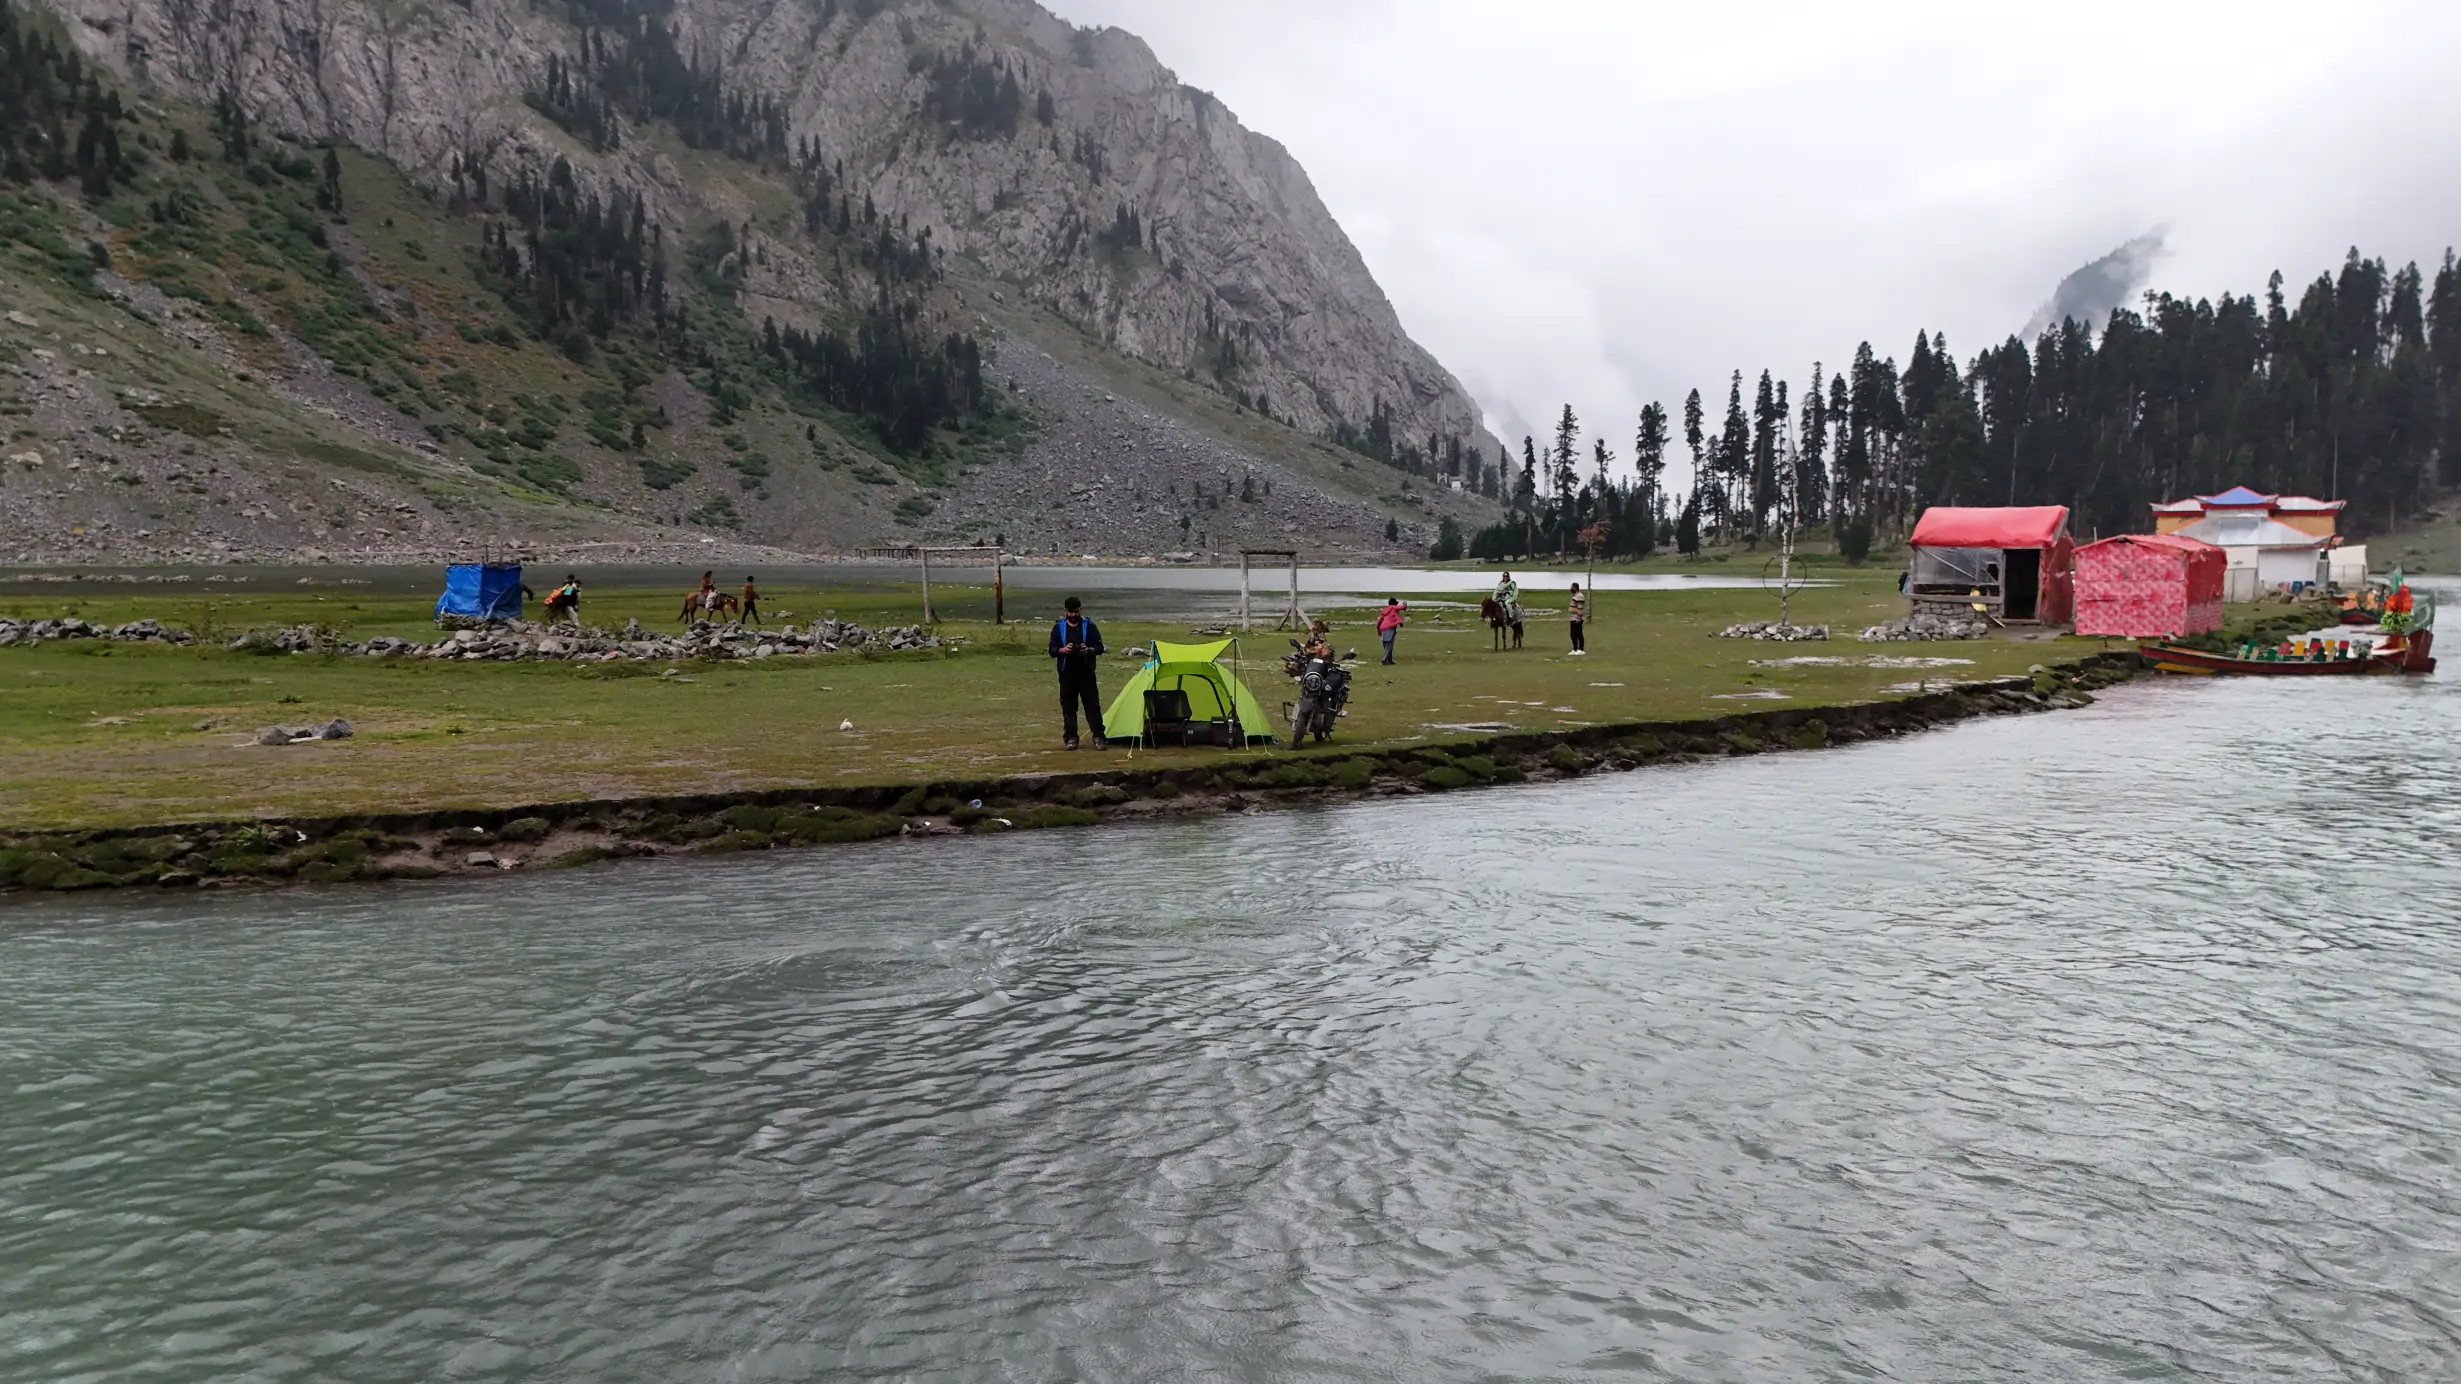
A tent alone does not make a comfortable camp. Shelter, ground insulation, sleeping bag or quilt, dry clothing and the chosen site work together. A warm-looking sleeping bag can underperform if the mat allows heat loss to the ground. A sturdy tent can still be miserable on a poorly drained pitch. Match the complete system to plausible conditions and test it on a short overnight before a remote ride. Know how to pitch it with cold hands or fading light.
Consider packed volume and shape, not only weight. A long rigid item may fit a product specification but be awkward on a small motorcycle. Avoid creating a load wider than you can manage through the places on your route. Keep wet shelter fabric separated from dry bedding after a rainy morning. If packing everything into one bag, use inner protection that actually keeps the critical dry items dry.
Camping location is also a gear decision. Choose designated or locally approved sites, and know whether your setup needs stakes in ground that may be rocky, wet or too soft. The Leave No Trace guidance encourages durable surfaces and existing sites. Follow local rules and ask before using land that may be privately or communally managed. The camping page covers site judgement in more detail.
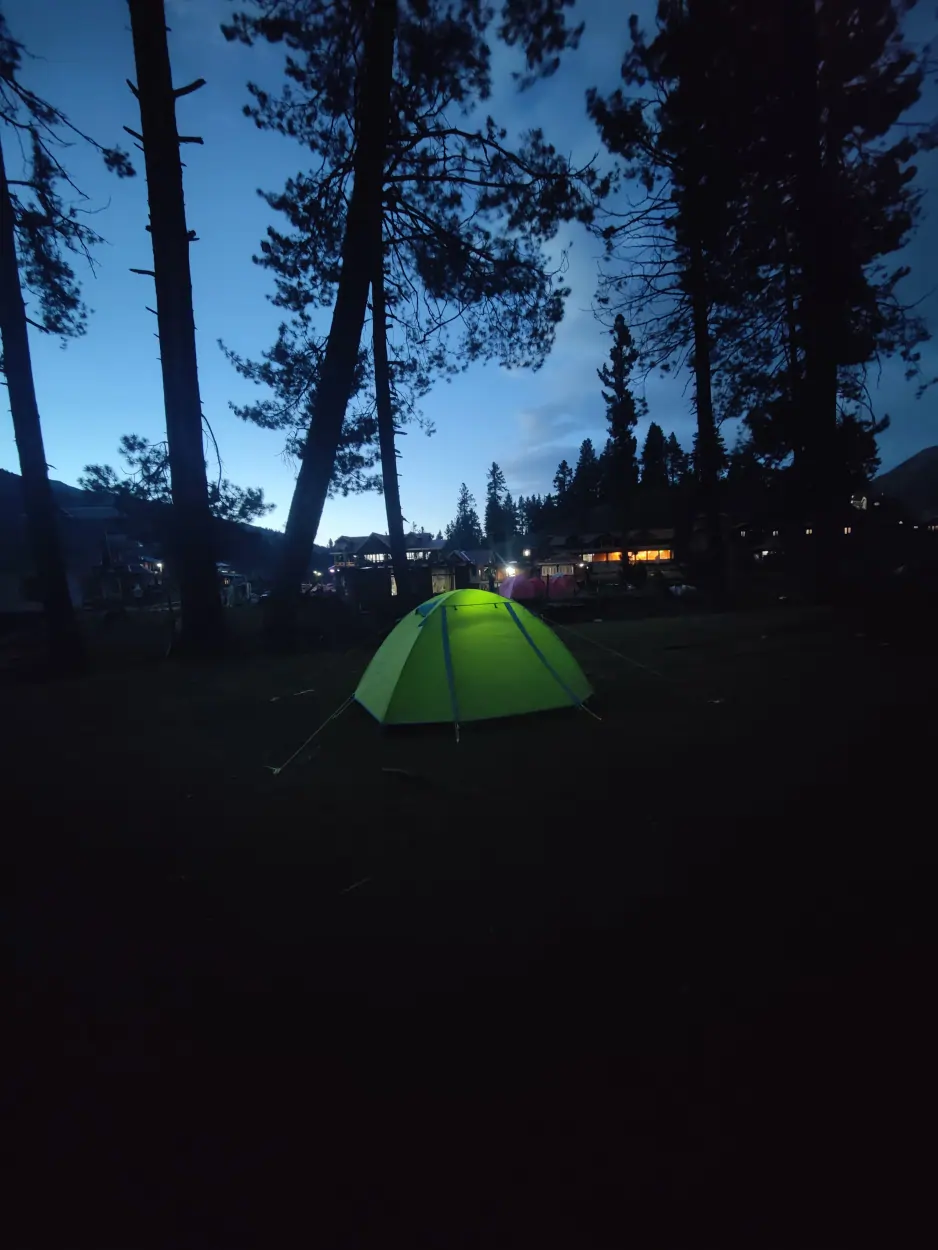
A sleep system deserves a complete overnight trial. Do not test only whether the tent stands in a garden. Sleep in it, pack it while damp if the forecast warrants and see where the wet fabric goes on the bike. Note how long your hands stay warm while pitching and whether your mat shifts. Small discomforts at home can become serious interruptions after a long ride.
Field guide / 05
Treat water, food and cooking as one workflow
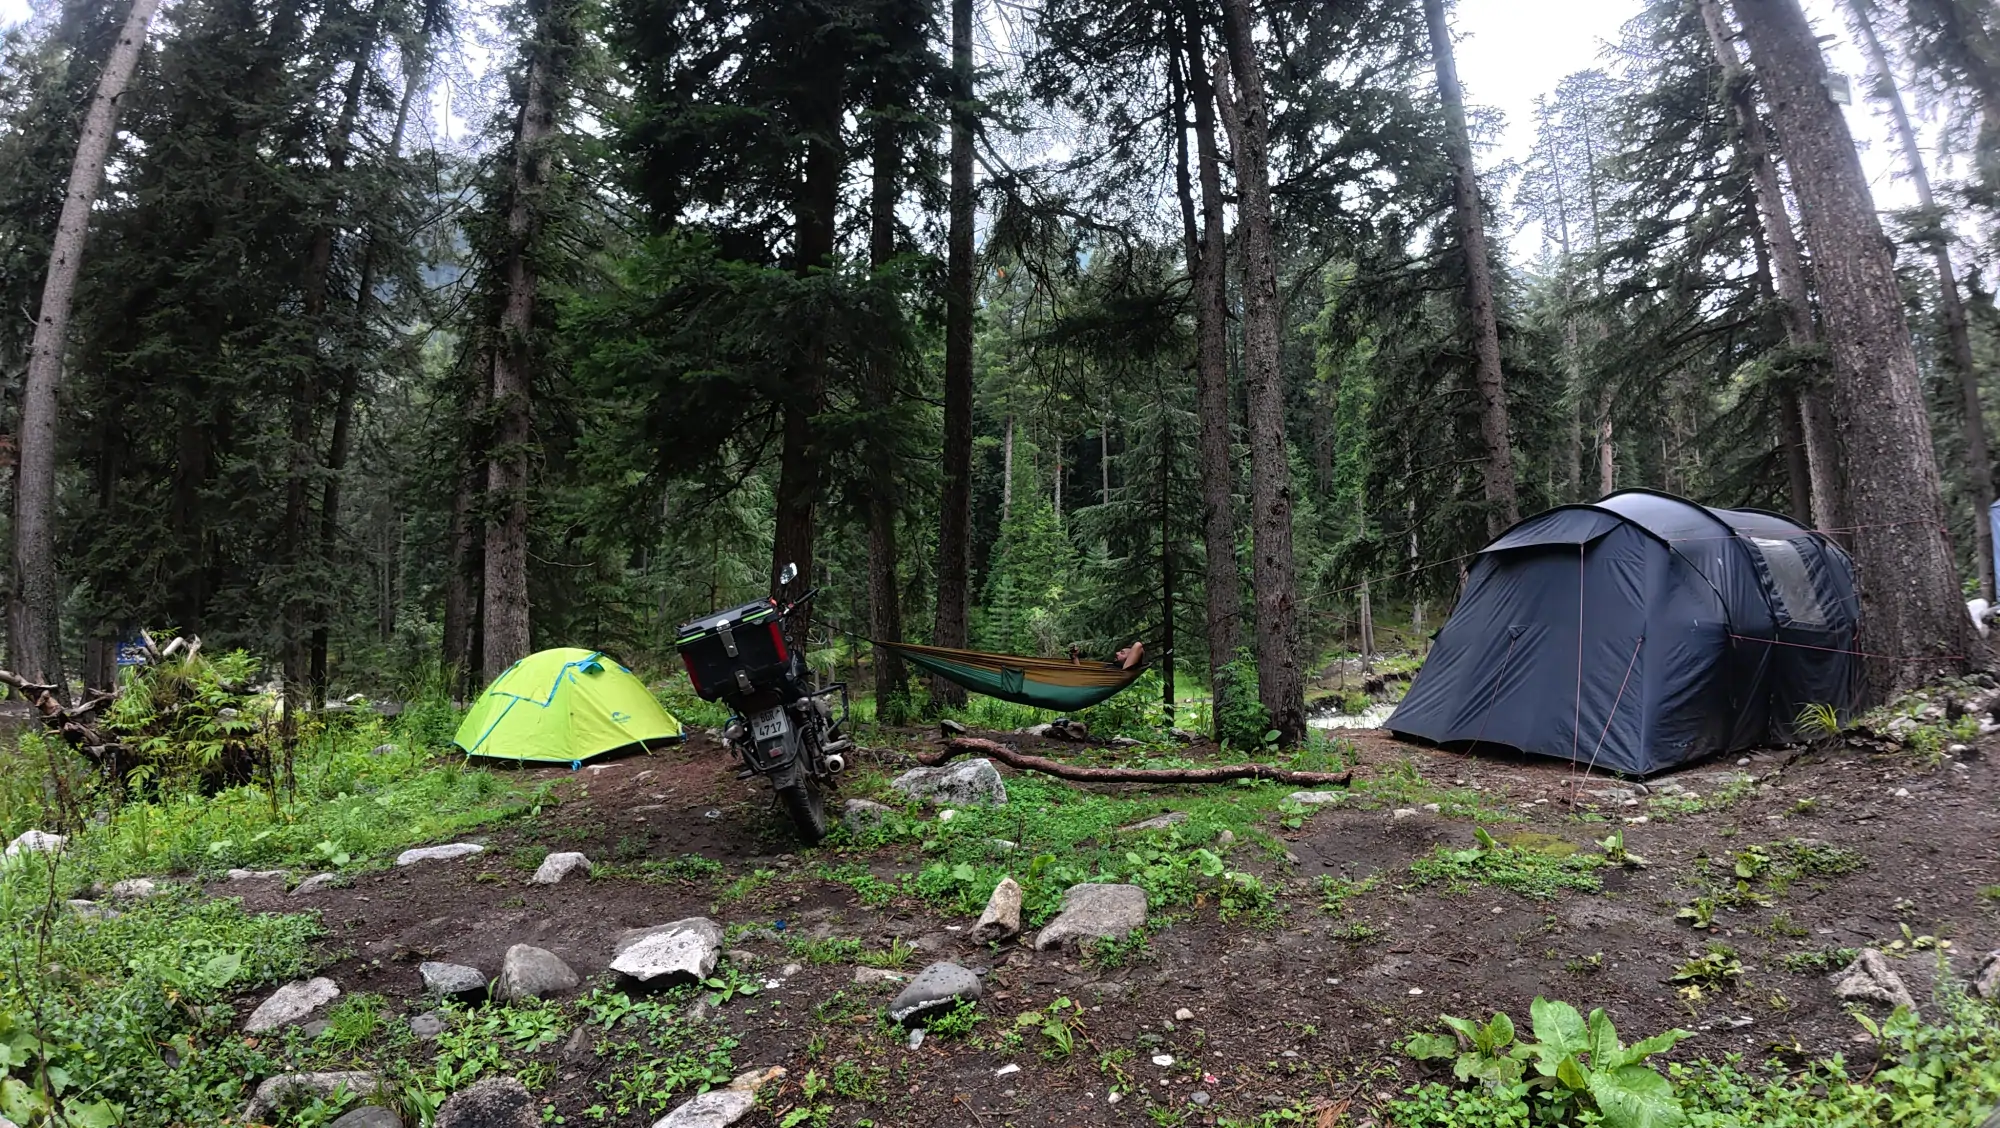
Water storage is useful only if you know when and how it will be refilled. Estimate demand for riding, camp and a reasonable delay, then identify reliable sources and a treatment method appropriate to the water available. A filter, purification method or purchased safe supply each has tradeoffs. Do not assume clear mountain water is potable. Carry an accessible bottle for the riding day and protect the rest from leaks or abrasion in luggage.
Food should be simple enough to prepare when tired. Plan the first night’s meal before imagining elaborate camp cooking. Check whether fuel for your stove can be carried and obtained lawfully along the route, and learn to use the stove safely before departure. Keep food and cooking waste secure; do not leave scraps for animals. A good meal system produces little packaging and does not require many separate tools.
Keep the water source cleaner than you found it. Wash away from streams and manage wastewater according to local guidance. Pack food wrappers and used tissues out or use an approved disposal system. The Leave No Trace waste guidance is a useful general reference, while a campsite host or park ranger should settle the site-specific method.
Put water treatment and cooking into the same rehearsal. Fill the containers, use the treatment method, cook the intended meal and clean up without a sink. This reveals forgotten pieces—ignition, repair parts, a stable surface or a way to manage wastewater. It also shows whether the meal takes more water or time than expected. Adjust the system before you are tired at an unfamiliar campsite.
Field guide / 06
Carry repair tools you can actually use
A tool roll should reflect your motorcycle and your own ability. Common candidates include the tools needed for basic fasteners, a tyre repair and inflation method suited to the wheels, spare fuses and the consumables most relevant to your bike. Ask a trusted mechanic what fails on your particular setup. Practise a roadside-style inspection and repair at home; a tool carried unopened is less reassuring than it looks. If a repair would be unsafe for you to attempt, plan how to seek help instead.
Preventive checks often matter more than spare parts. Inspect tyres, brakes, chain or drive, lights and fluid levels before the trip and during appropriate stops. Recheck luggage fasteners because vibration and repeated unloading can loosen them. A tiny issue caught at a town workshop is much easier to address than the same issue after dark in a remote valley. Keep notes of known maintenance needs rather than hoping you will remember them at the next stop.
Emergency planning includes more than a wrench. Save contact numbers, carry a way to communicate where coverage permits, and tell a trusted person your expected route. Download maps for offline use and keep one low-tech backup of essential information. The travel guide hub ties those habits to daylight and route stages.
A repair practice session can be modest. Find where your bike’s toolkit fits, remove the relevant panel, use the tyre kit on a safe demonstration and identify the nearest service option for the real route. Keep a note of tyre size, common fasteners and any special tools required. The aim is not to become a mechanic overnight; it is to avoid discovering a missing adapter during a preventable delay.
Field guide / 07
Keep the camera kit light and truthful
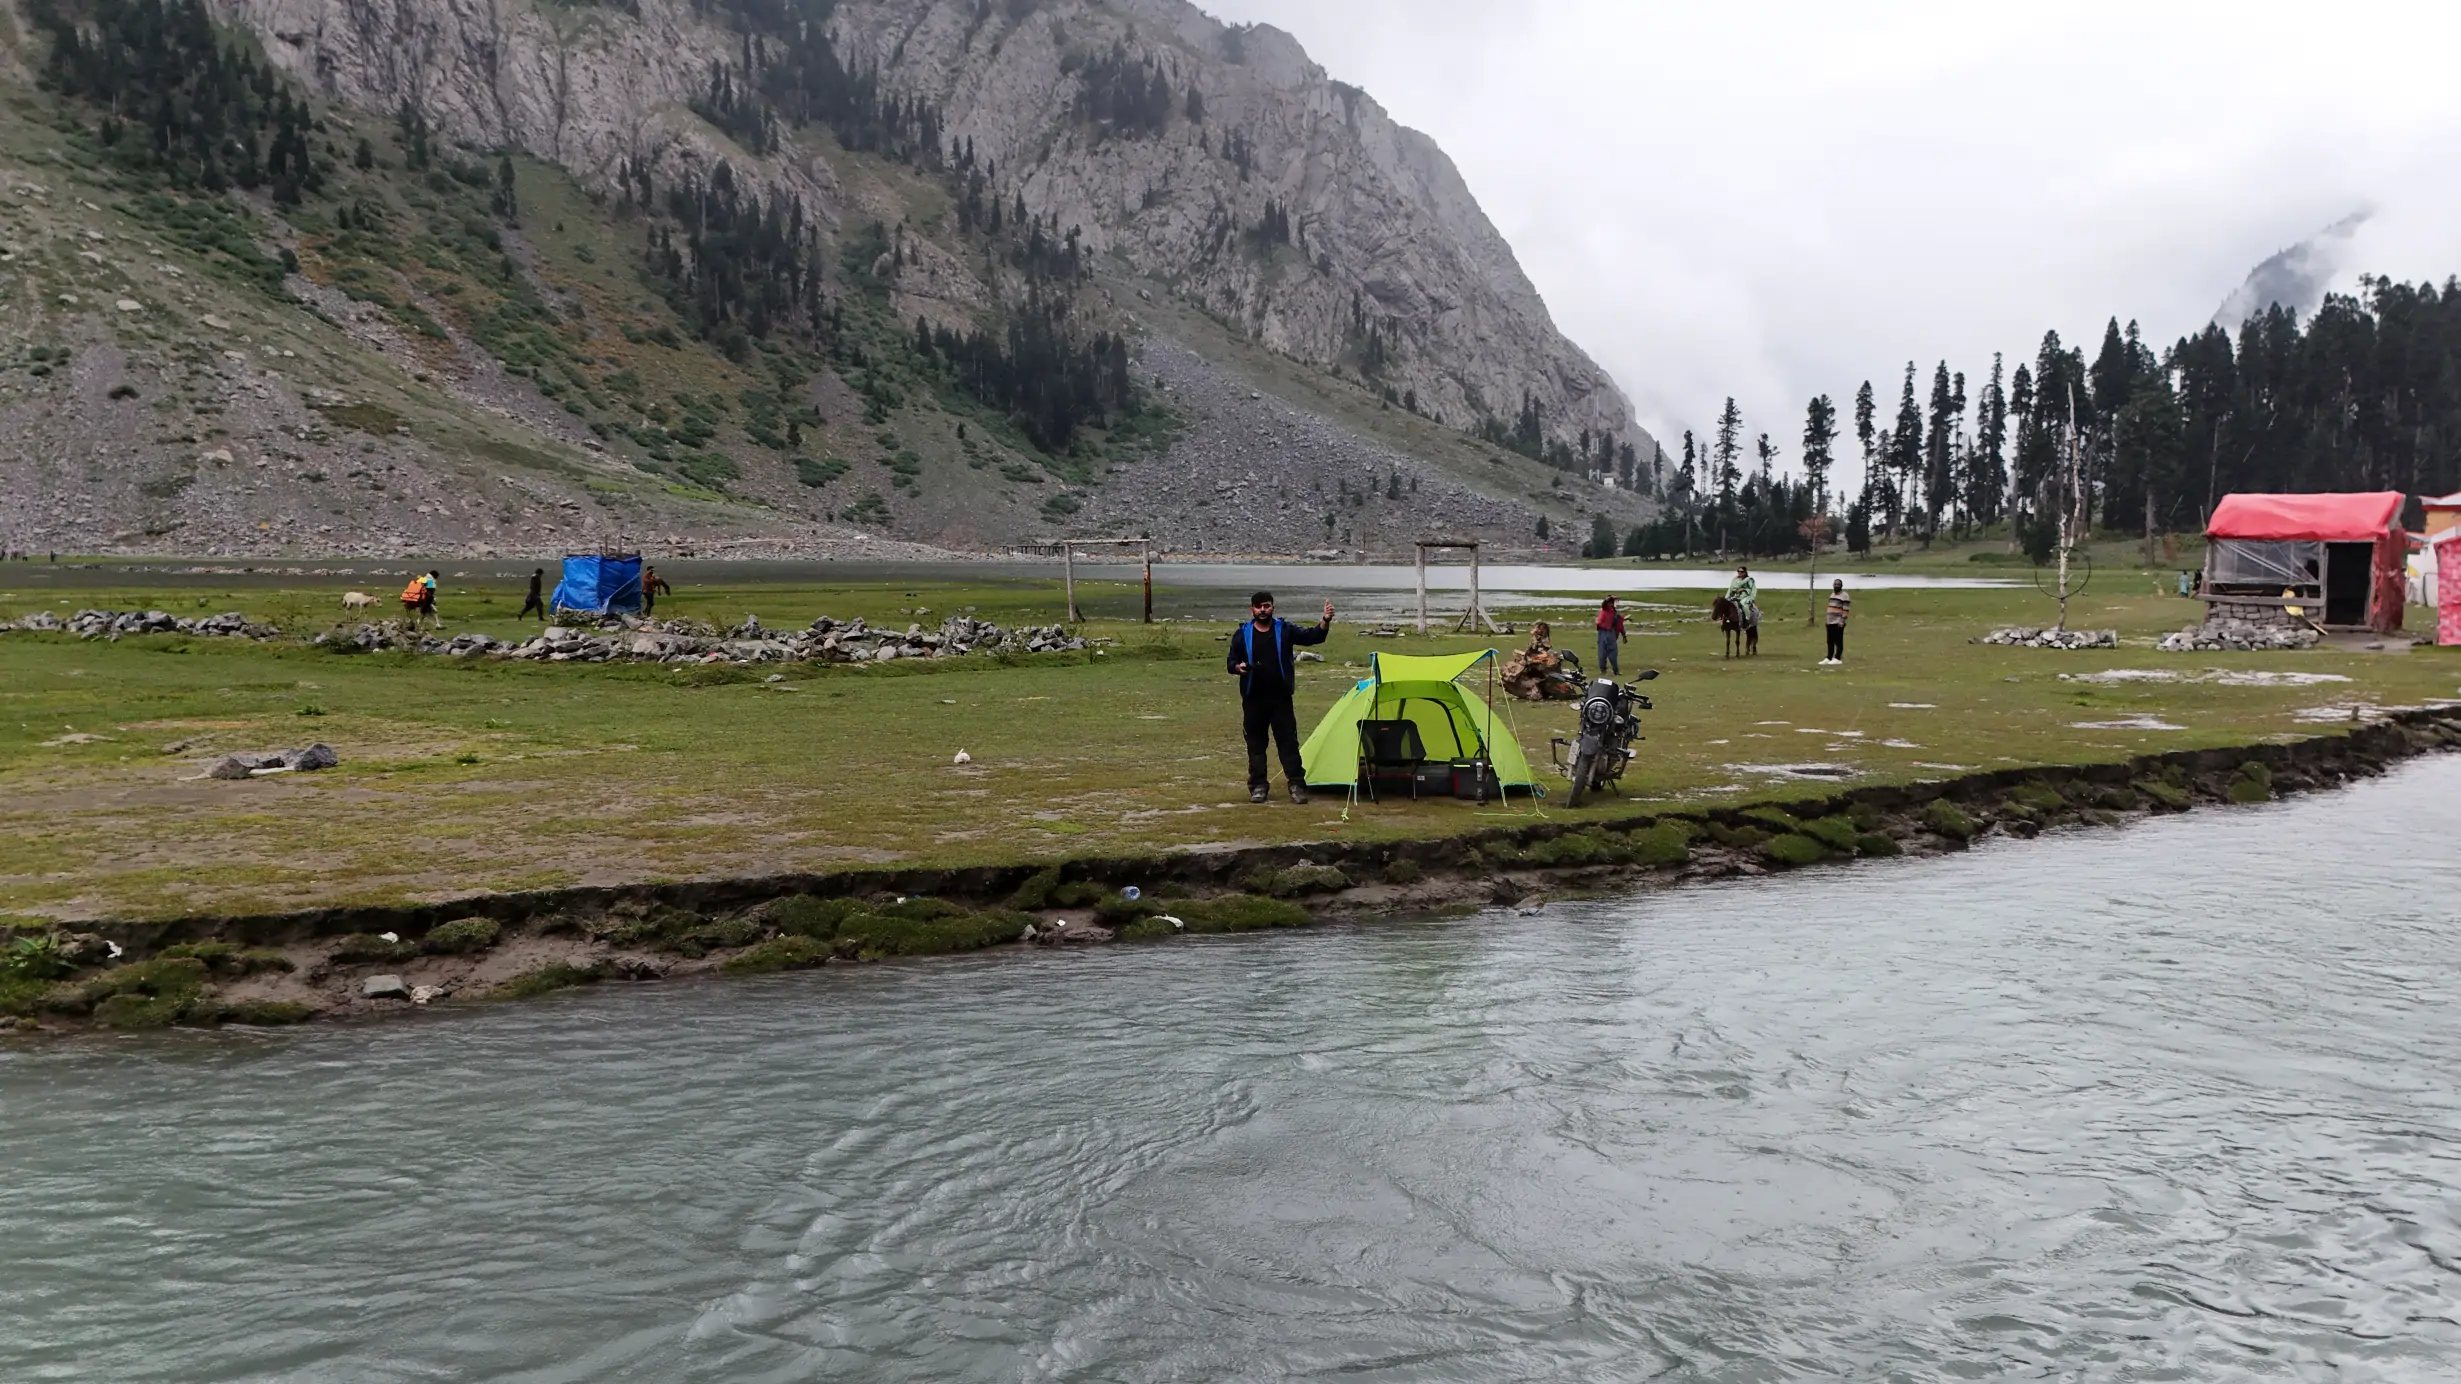
A filming kit should serve the journey rather than dominate it. Decide what story you want to tell and carry the smallest set of devices that can capture it reliably. A phone, compact camera or action camera may be enough for many situations; a more complex setup adds batteries, mounts, charging, storage and weather protection. Count that whole system when weighing luggage. If the camera bag makes a rider skip a warm layer or water, the priorities have reversed.
Mounts need the same security checks as luggage. A camera that falls can endanger others or become roadside litter. Confirm it does not obstruct controls or vision, and never adjust it while riding. Stop safely to change a shot. Keep sensitive equipment dry and protect media with a backup routine that does not depend on always having power or network access. A beautifully shot film is less valuable if its files are lost before you return.
Be honest in the edit. Show that a route took time, that weather changed or that a camp required permission. Do not present staged risk as ordinary travel. Offbeat Camper’s film room can inspire the visual side, while the responsible-travel decisions belong in the story too.
Protect footage from a single-point failure. If you carry more than one memory card, rotate them rather than putting the whole trip on one card. Keep spare media dry and separate from the camera when practical. A small notebook can record locations and consent even when batteries are flat. The filming workflow should make the ride more attentive, not turn each stop into a stressful data-transfer session.
Field guide / 08
Run a pre-trip audit and remove what has no role
Lay every item out by function. For each one, ask: what problem does it solve, when will I use it, can I reach it, and what is my backup if it fails? Weigh the packed system if possible and compare it with the motorcycle’s limits. Then do a complete mock departure: load the bike, ride, stop, access rain gear, unpack camp equipment, pitch shelter and pack again. The exercise reveals conflicts that a spreadsheet cannot.
Remove duplicate comforts that do not add meaningful resilience. Keep redundancy where failure has serious consequences, such as navigation or keeping a critical layer dry. Replace complicated equipment with familiar equipment when the simpler option works. If a new purchase is unavoidable, test it before leaving rather than making the first night outside its debut. A packing list is not finished when everything fits; it is finished when the system still works under stress.
Review the kit after every journey. Note what stayed unused, what failed, what was hard to reach and what you wished you had. Those observations are more credible than a universal “best gear” claim. Until exact owned products are confirmed, the My Gear List page remains a category checklist rather than an invented inventory. That transparency is part of making travel advice useful.
When reviewing your kit afterward, do not label every unused safety item a mistake. A rain shell unused during a dry trip may still have been sensible. Ask whether its role was credible for the route and whether it was proportionate in weight and cost. Conversely, a decorative item used every day may still not justify crowding out water or a repair tool. This honest audit is the basis of a personal packing system.
Keep exploring: motorcycle gear, the travel guides and the route-based gear checklist.